-
Shower Panels & Boards
- Wall Panels by Feature & Colour
- Slat Wall Panels
- Multipanel
- Showerwall
- Perform Panels
- DuraPanel
- BerryAlloc
- Wetwall
- Mermaid Wall Panels
- HydroSafe Wall Panels
- Nuance Bushboard Shower Panels
- Neptune PVC Panels
- Wetpanel M1 PVC
- MEGAboard PVC
- Splashpanel
- ProPlas PVC Panels
- PlumbWall 4 PVC Wall Panels
- Reflect Wall Panels
- Lustrolite Acrylic
- Atlantis Metro Tile Wall
- Masq Revela
- Wall Panel Profiles, Coloured Sealants & Accessories
- View all products...
-
Showering
- Shower Doors & Enclosures
- Shower Trays
- Shower Valves
- Bath Shower Screens
- Shower Accessories & Spares
- Shower Pumps
- View all products...
-
Bathroom Suites
- Complete Bathroom Suites
- Baths
- Toilets & Bidets
- Basins
- View all products...
- Taps
-
Furniture
- Bathroom Furniture
- Wall Cabinets
- Toilets & Cisterns For Furniture
- Worktops & Vanity Counter Tops
- View all products...
- Radiators
- Ceilings, Floors, Tiles
- Accessories
- Extras
- Plumbing
- Wet Rooms
-
Shower Panels & Boards
- Wall Panels by Feature & Colour
- Slat Wall Panels
- Multipanel
- Showerwall
- Perform Panels
- DuraPanel
- BerryAlloc
- Wetwall
- Mermaid Wall Panels
- HydroSafe Wall Panels
- Nuance Bushboard Shower Panels
- Neptune PVC Panels
- Wetpanel M1 PVC
- MEGAboard PVC
- Splashpanel
- ProPlas PVC Panels
- PlumbWall 4 PVC Wall Panels
- Reflect Wall Panels
- Lustrolite Acrylic
- Atlantis Metro Tile Wall
- Masq Revela
- Wall Panel Profiles, Coloured Sealants & Accessories
- View all products...
-
Showering
- Shower Doors & Enclosures
- Shower Trays
- Shower Valves
- Bath Shower Screens
- Shower Accessories & Spares
- Shower Pumps
- View all products...
-
Bathroom Suites
- Complete Bathroom Suites
- Baths
- Toilets & Bidets
- Basins
- View all products...
- Taps
-
Furniture
- Bathroom Furniture
- Wall Cabinets
- Toilets & Cisterns For Furniture
- Worktops & Vanity Counter Tops
- View all products...
- Radiators
- Ceilings, Floors, Tiles
- Accessories
- Extras
- Plumbing
- Wet Rooms
How To Replace An Old Close Coupled Toilet
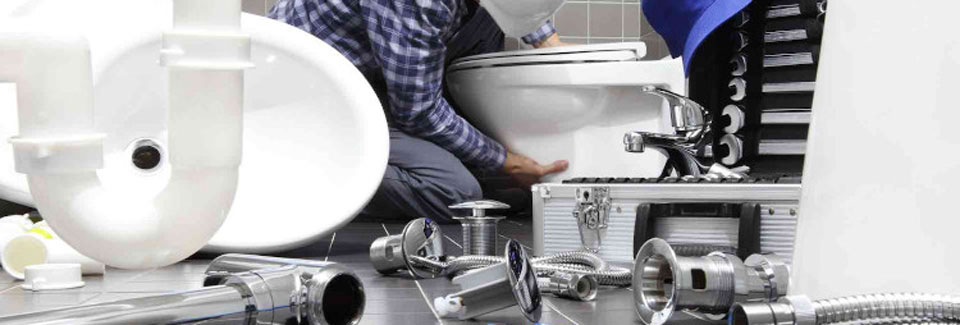
Fitting a new close coupled toilet.
A close coupled toilet is probably the most common Kind of toilet in UK homes, and it is easy to identify thanks to its “L”-shape.
The close coupled design features the cistern directly above the toilet pan, hence making it close coupled. Close coupled toilets come in a wide range of styles to suite any bathroom.
Other than the styles available it is also worth considering the following options depending on your installation.
- Comfort Height: Ideal if you struggle with mobility and find a standard toilet too low to sit on. They’re styled in just the same way as a standard toilet but with added height.
- Short Projection Perfect for bathrooms with limited space. While the pan and seat area has just as much space, the cistern depth has been reduced to give you less length (projection). Ideal for cloakrooms
What equipment and tools are needed to fit a toilet?
The equipment and tools needed to fit toilet may vary slightly but the basic tools are as follows:
- Adjustable wrenches
- Screwdriver (both flat head and Philips)
- Silicone sealant
- Cartridge gun
- Adjustable pliers
- Electric drill
- Drill bits to suit the floor and wall materials
- Spirit level
- Rubber gloves
- Cleaning equipment - bucket, sponge, detergent
- Safety glasses
Removing an old toilet.
1. Firstly, turn off the water
When removing an old toilet, you need to make sure there is no water left in the cistern or pan.
Switch off your water supply, using the isolation valve on the water pipe (usually with a flat blade screwdriver), and then flush the toilet until there’s no water left. If there is a small amount of water left, soak it up using a towel.
2. Clean the old toilet.
Toilets can by design get pretty dirty, so before removing it we suggest cleaning the toilet thoroughly. It is advised to wear gloves for this process to protect you from any germs or harsh cleaning products that may be used.
3. Disconnect the water supply.
The cistern is fed water via a pipe (quite often a flexible braided hose), it’s now time to disconnect it, use an adjustable wrench to do so. This pipe can still have water in it, so best to place a towel or tub underneath to catch any stray water.
4. Removing the old toilet from wall and floor.
At the base of the toilet, you’ll see bolts fixing it to the floor (these will sometimes have plastic cover caps over them) which will need to be removed with a screwdriver or possibly spanner. These bolts usually have a cross head but can on some occasion have a hex bolt head or even flat blade head if the toilet has been installed for quite some time. There will also be some bolts securing your cistern to the wall, these will also need to be removed.
Your toilet may also have silicone around the base to make it more secure, if so, this can be removed by cutting through it with a sharp knife.
5. Disconnect the soil pipe.
One of the final steps is to detach your old toilet from the soil pipe. This would be the most unpleasant part of the process. The soil pipe as the same suggests is where everything goes once you flush. This pipe is connected to the back of the toilet pan.
You should be able to gently ease the soil pipe from the back of the toilet with out much trouble.
Once removed, cover the soil pipe and seal it using a plastic bag or cloth and secure it in place. This will prevent potentially harmful and very foul-smelling gasses from entering from the sewers.
Have a final clean-up of the area, Check the fixing bolts and seal on the soil pipe and replace them as necessary .
Fitting your new toilet.
Although this may seem daunting it is more or less a reversal of what you have already done to remove the old toilet.
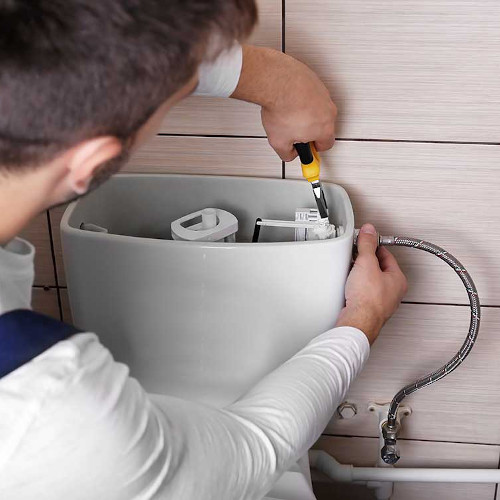
1. Assembling the flush mechanism
This will vary slightly between different models but the manufacturer will provide detailed instructions on fitting your flush mechanism to you new cistern it is worth noting not to fit anything too tightly, this may prevent your toilet from flushing properly.
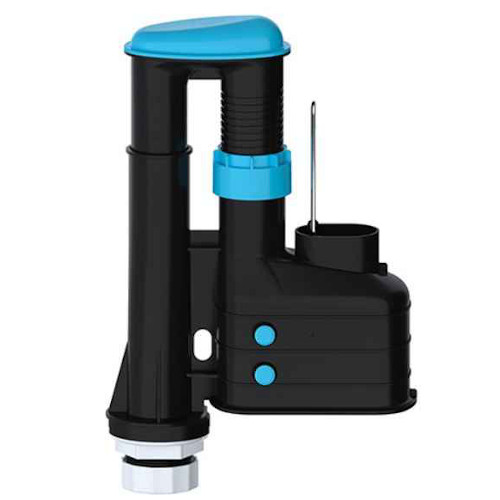
At the same time, assemble any other interior parts of the cistern, such as the fill valve (sometimes known as a ballcock valve) and fit them. It’s much easier to do this now than when the entire toilet is in place.
2. Conecting the cistern to the pan.
Now, it’s time to connect the two parts of the toilet together. Fit the rubber gasket (close coupled pan connector) if it isn’t already attached - to the flush entrance of the pan. Then, insert the fixing bolts, threading them through the holes in the cistern, using the included rubber and metal washers.
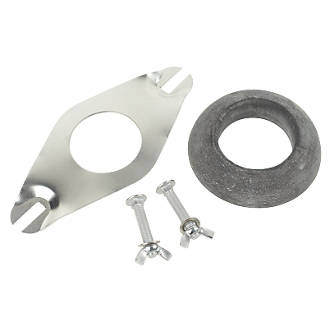
Carefully lift the cistern into position on the pan. The bolts will fit through the provided holes of the pan while the threaded section of the flushing mechanism will go through the rubber gasket. Fit the washers onto the bolts and then secure them (this will quite often have wing nuts to secure the bolts). Remember not to fit the bolts and washers too tightly - this could damage the toilet over time.
3. Fitting new toilet to wall and floor.
Lift and position your toilet in the correct place, checking it’s level with a spirit level. Your new toilet will potentially line up with the original fixing holes, if it does this makes things easier but is no big deal if not. Mark the wall for fixing holes for the cistern as well as the floor for the base of the pan, using a pencil.
The cistern should come with holes pre drilled in the back - so you won’t have to.
Check the walls and floor for any pipes or wires before drilling new holes for fitting the toilet.
4. Refitting Soil Pipe.
Move your toilet back into position. Remove the cover from the soil pipe and fit the pipe to the back of the pan, screw the pan to the floor and the cistern to the wall,
The cistern and pan can be tightened to the wall and floor fully now, remember to follow the manufacturer’s instructions. Like attaching the cistern to the pan over tightening can cause damage. Use washers if you have them, and cover the bolts on the pan’s base with caps.
5. Reattach water supply.
Reattach the water inlet pipe to the fill valve (checking the seal is ok) with your fingers so as to not cross thread and give it a final tighten with an adjustable wrench, being careful not to have it too tight and strip the threads.
Once this pipe is attached you can turn the water back on filling the cistern. Check the system for any leaks and that the water stops once the cistern is at the correct fill level. You can now test the flush is operating correctly. Keep some towels handy in case of any issues at this point.
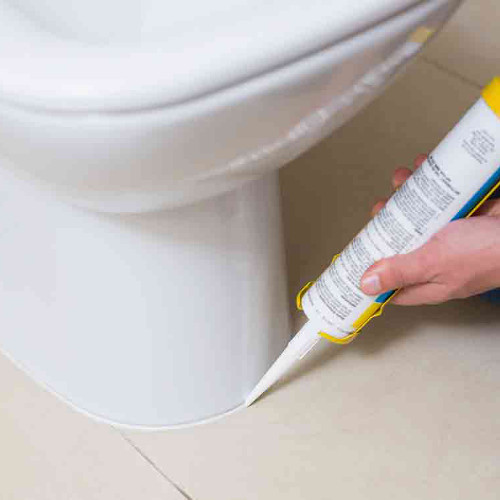
You can now seal around the base of the toilet with silicone if you wish and fit your toilet seat. Your new toilet is now ready for use.
Video Guide
To purchase a new closed couple toilet please see our range.
This guide was created for reference only. www.rubberduckbathrooms.co.uk can not be held responsible for injury or damage caused if you decide to use this method.